As a supplier of base mounting brackets, I often receive inquiries from customers about how to remove these brackets. Whether it's for replacement, repair, or a change in the setup, knowing the proper way to remove base mounting brackets is essential. In this blog post, I'll share some practical steps and tips based on my experience in the industry.
Understanding Base Mounting Brackets
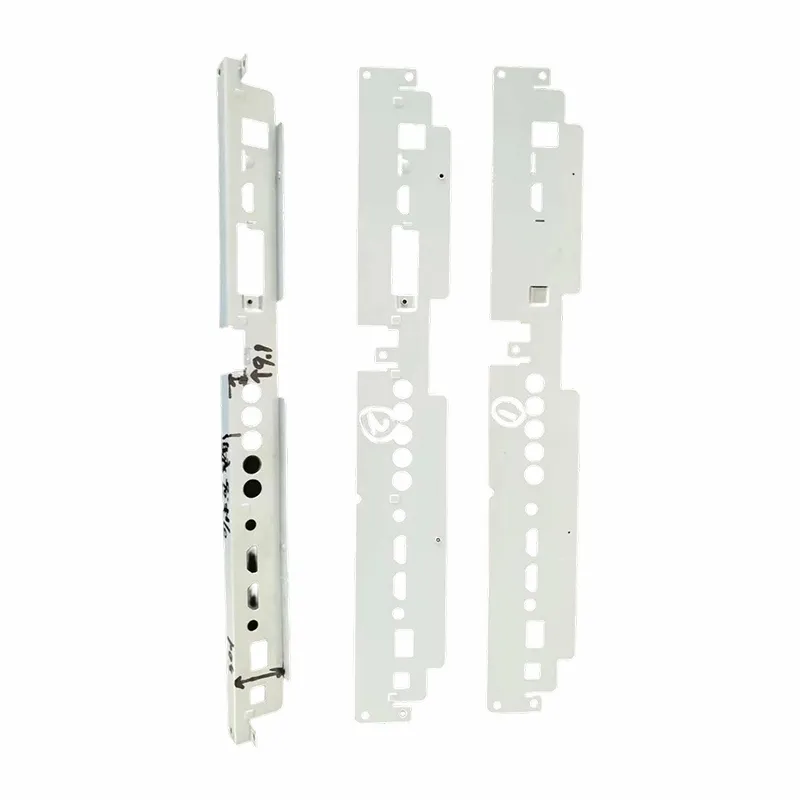
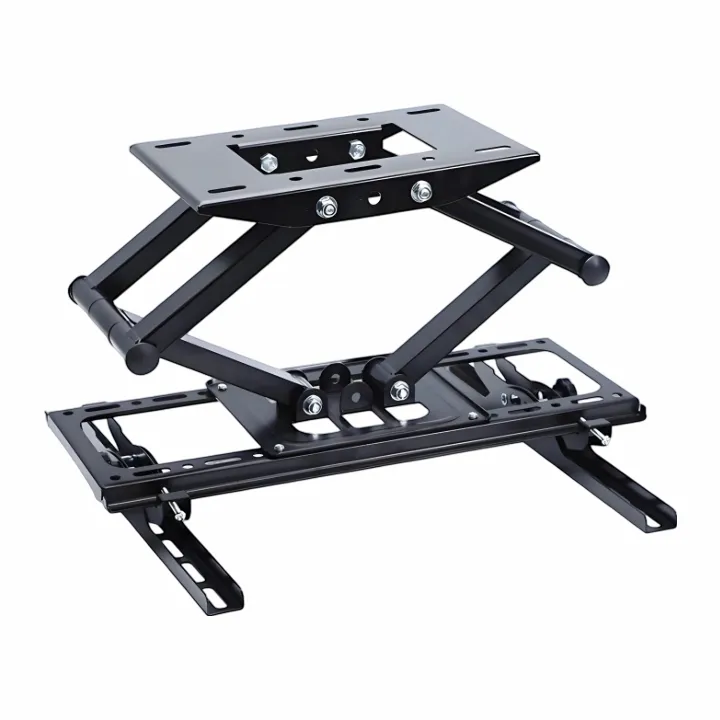
Before we dive into the removal process, it's important to understand what base mounting brackets are and their various types. Base mounting brackets are used to secure different components to a base surface. They come in a wide range of shapes, sizes, and materials, depending on their intended use. For example, Home Decoration Cover Plate are often used to provide a decorative and protective covering while also serving as a mounting solution. Data Interface Mounting Brackets are designed to hold data - related components in place, and Suspension Mounting Brackets are used in applications where components need to be suspended or supported in a specific way.
Tools You'll Need
To remove base mounting brackets, you'll need a few basic tools. Here's a list of the most commonly used ones:
- Screwdriver: Depending on the type of screws used to secure the bracket, you may need a flat - head or Phillips - head screwdriver. In some cases, you might even need a Torx screwdriver.
- Wrench: If the bracket is secured with nuts and bolts, a wrench of the appropriate size will be necessary.
- Pliers: Pliers can be useful for gripping and removing small parts or for bending and straightening brackets if needed.
- Safety Gear: Safety glasses and gloves are recommended to protect your eyes and hands during the removal process.
Step - by - Step Removal Process
Step 1: Preparation
- Power Off: If the component attached to the base mounting bracket is electrical, make sure to turn off the power supply. This will prevent any electrical shocks or short - circuits during the removal process.
- Gather Tools: Collect all the necessary tools and lay them out in an organized manner. This will make the removal process more efficient.
- Clear the Area: Remove any objects or debris around the bracket to give yourself enough space to work.
Step 2: Identify the Fasteners
- Examine the Bracket: Carefully look at how the base mounting bracket is attached to the surface. Most brackets are secured with screws, nuts and bolts, or a combination of both.
- Note the Type and Size: Take note of the type and size of the fasteners. This will help you select the correct tools for removal.
Step 3: Remove the Fasteners
- Using a Screwdriver: If the bracket is secured with screws, insert the appropriate screwdriver into the screw head and turn it counter - clockwise. Apply steady pressure to avoid stripping the screw head.
- Using a Wrench: For nuts and bolts, place the wrench around the nut and turn it counter - clockwise. If the nut is stuck, you can try applying a small amount of lubricant to loosen it.
- Collect the Fasteners: As you remove the fasteners, place them in a small container or bag. This will prevent them from getting lost.
Step 4: Detach the Bracket
- Gently Pull: Once all the fasteners are removed, gently pull the base mounting bracket away from the surface. Be careful not to damage the bracket or the surface it was attached to.
- Check for Adhesives: In some cases, brackets may also be secured with adhesives. If you encounter adhesive, you can use a putty knife or a similar tool to carefully separate the bracket from the surface.
Step 5: Inspect the Bracket and Surface
- Inspect the Bracket: Check the base mounting bracket for any signs of damage, such as cracks, bends, or worn - out parts. If the bracket is damaged, it may need to be replaced.
- Inspect the Surface: Examine the surface where the bracket was attached. Look for any scratches, dents, or other damage. If necessary, clean the surface before installing a new bracket.
Tips and Tricks
- Lubrication: If the fasteners are difficult to remove, applying a lubricant such as WD - 40 can make the process easier. Let the lubricant sit for a few minutes before attempting to remove the fasteners again.
- Patience: Removing base mounting brackets can sometimes be a time - consuming process, especially if the fasteners are stuck. Take your time and avoid using excessive force, as this can cause damage.
- Documentation: If you're removing the bracket as part of a repair or replacement, it's a good idea to take pictures or make notes of the original setup. This will help you during the reinstallation process.
Conclusion
Removing base mounting brackets is a task that can be accomplished with the right tools and a little bit of know - how. By following the steps outlined in this blog post, you can safely and effectively remove base mounting brackets for various applications. As a supplier of base mounting brackets, I'm always here to provide you with high - quality products and any assistance you may need regarding their installation or removal.
If you're in the market for base mounting brackets or have any questions about our products, I encourage you to reach out to us for procurement and further discussions. We're committed to meeting your needs and providing you with the best solutions for your projects.
References
- "Handbook of Fastening and Joining" by Carl H. Hamilton
- "Home Improvement Basics: A Guide to DIY Projects" by DIY Publishing Group


