


Installing a chassis box might seem like a daunting task, especially if you're not well - versed in DIY or technical work. However, with the right guidance and a bit of patience, you can successfully install a chassis box. As a chassis box supplier, I'm here to walk you through the entire process step by step.
Understanding the Chassis Box Components
Before you start the installation, it's crucial to understand the different components of a chassis box. A typical chassis box consists of a Chassis Shell, Chassis Crossbeams, and Chassis Rivets.
The chassis shell is the outer covering of the box. It provides protection to the internal components and gives the box its overall shape. The chassis crossbeams are used to reinforce the structure of the box, ensuring its stability and durability. Chassis rivets are small, but they play a vital role in holding all the components together.
Pre - installation Preparations
- Gather Your Tools: You'll need a set of basic tools for the installation. These include a drill, a screwdriver, a rivet gun, a measuring tape, and a level. Make sure all your tools are in good working condition before you start.
- Choose the Right Location: Decide where you want to install the chassis box. It should be a flat, stable surface that can support the weight of the box and its contents. Use a measuring tape to mark the exact location and a level to ensure the surface is even.
- Inspect the Components: Before you start assembling, carefully inspect all the components of the chassis box. Check for any damages or defects. If you find any issues, contact your supplier immediately.
Step - by - Step Installation Process
Step 1: Assembling the Chassis Shell
Lay the chassis shell on a clean, flat surface. Start by identifying the different parts of the shell. Some shells come pre - cut and ready to assemble, while others may require some minor adjustments. If you need to make any cuts, use a drill or a saw to do so carefully.
Once you have the shell parts ready, start joining them together. Use the chassis rivets and a rivet gun to secure the parts. Make sure the joints are tight and there are no gaps. You can use a screwdriver to tighten any screws if the shell has screw - based joints.
Step 2: Installing the Chassis Crossbeams
After the shell is assembled, it's time to install the chassis crossbeams. These crossbeams provide additional support to the box. Measure the length of the crossbeams to ensure they fit perfectly inside the shell.
Use a drill to make holes in the shell where the crossbeams will be attached. Insert the crossbeams into the holes and secure them with rivets or screws. Make sure the crossbeams are evenly spaced and level. This will help distribute the weight evenly across the box.
Step 3: Mounting the Chassis Box
Once the box is fully assembled, it's time to mount it in the chosen location. Use a drill to make holes in the surface where the box will be installed. Make sure the holes are the right size for the screws or bolts you'll be using.
Lift the chassis box carefully and place it over the holes. Insert the screws or bolts through the holes in the box and into the surface. Use a screwdriver or a wrench to tighten the screws. Make sure the box is firmly attached to the surface and doesn't wobble.
Step 4: Final Checks
After mounting the box, do a final inspection. Check all the joints and connections to make sure they are secure. Use a level to ensure the box is straight. If you find any loose parts or gaps, tighten the screws or add more rivets as needed.
Tips for a Successful Installation
- Read the Manual: Always read the installation manual that comes with the chassis box. It provides detailed instructions and diagrams specific to your model.
- Take Your Time: Don't rush the installation process. Take your time to measure, mark, and assemble each component correctly. This will ensure a better - quality installation.
- Seek Help if Needed: If you're unsure about any step of the installation, don't hesitate to seek help. You can contact your supplier or a professional installer for guidance.
Why Choose Our Chassis Boxes?
As a chassis box supplier, we take pride in offering high - quality products. Our chassis boxes are made from durable materials that can withstand various environmental conditions. We use advanced manufacturing techniques to ensure the precision and reliability of our products.

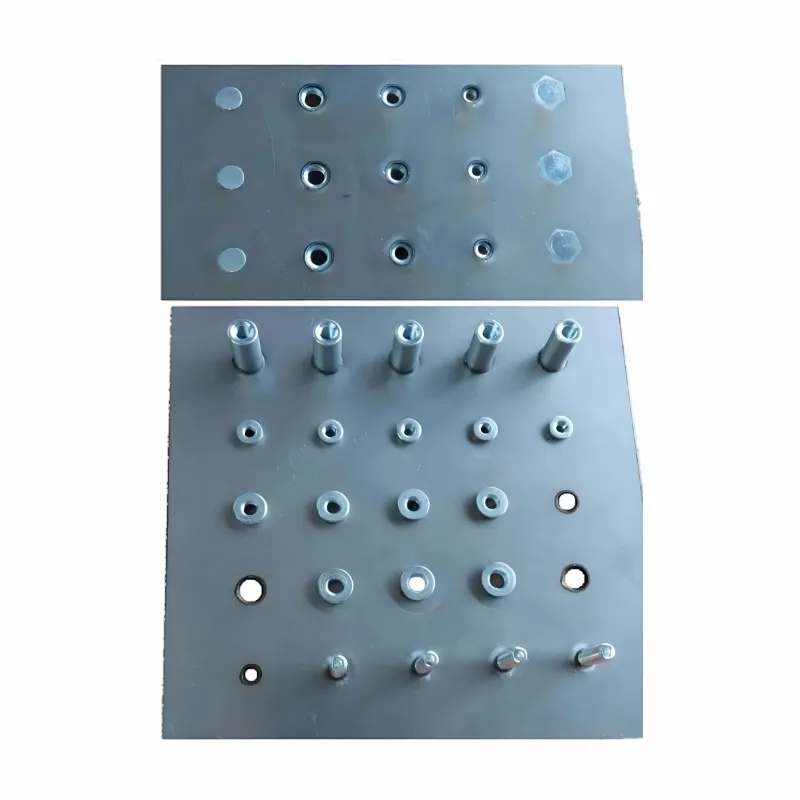
Our components, such as the Chassis Shell, Chassis Crossbeams, and Chassis Rivets, are designed to fit together perfectly, making the installation process easier for you.
Contact Us for Procurement
If you're interested in purchasing our chassis boxes or have any questions about the installation process, we'd love to hear from you. Whether you're a DIY enthusiast or a professional installer, we can provide you with the right products and support. Reach out to us to start a procurement discussion and find the best chassis box solutions for your needs.
References
- General knowledge on chassis box installation from industry experience.
- Manufacturer's guides for chassis box components.


