Installing a lightning rod on a home antenna pole is a crucial step in safeguarding your property and ensuring the longevity of your antenna system. As a supplier of Home Antenna Poles, I understand the importance of this process and am here to guide you through it. In this blog, I'll walk you through the steps of installing a lightning rod on your home antenna pole, providing you with the knowledge and confidence to complete the task safely and effectively.
Why Install a Lightning Rod?
Lightning strikes can cause significant damage to your home antenna pole and the connected equipment. A lightning rod acts as a conductor, diverting the electrical current from a lightning strike safely to the ground, protecting your antenna and other electronics from damage. By installing a lightning rod, you can reduce the risk of fire, electrical surges, and equipment failure, ensuring the safety and functionality of your home antenna system.
Step 1: Gather the Necessary Materials
Before you begin the installation process, you'll need to gather the following materials:
- Lightning Rod: Choose a high-quality lightning rod that is suitable for your home antenna pole. Look for a rod that is made of a conductive material, such as copper or aluminum, and is designed to withstand the electrical current of a lightning strike.
- Grounding Wire: You'll need a grounding wire to connect the lightning rod to the ground. The grounding wire should be made of a conductive material, such as copper, and should be at least 6 feet long.
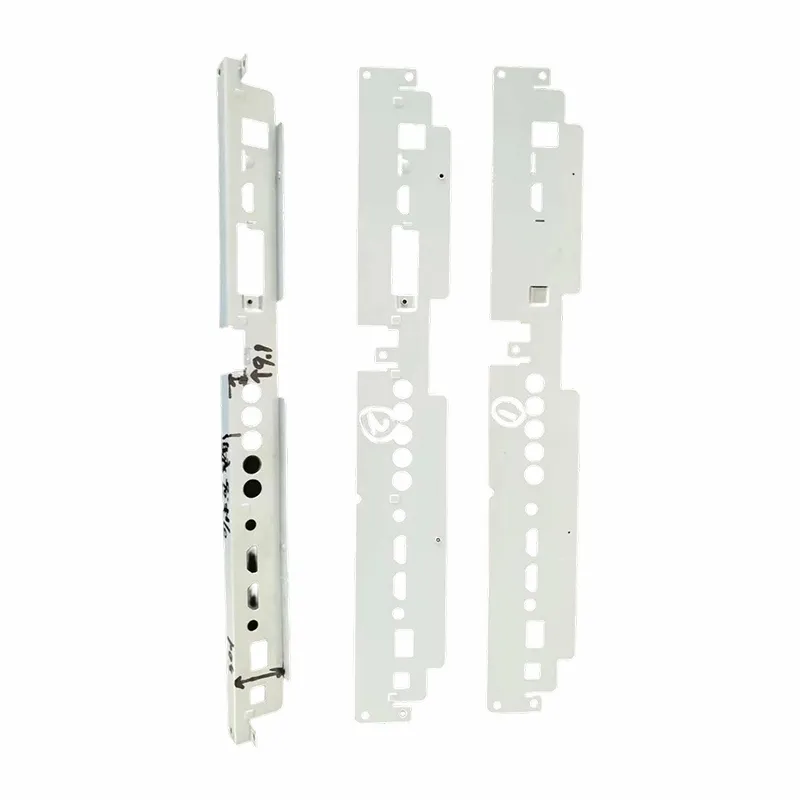
- Mounting Bracket: A mounting bracket is used to attach the lightning rod to the home antenna pole. Make sure the mounting bracket is compatible with your lightning rod and home antenna pole. You can find suitable mounting brackets, such as Data Interface Mounting Brackets and Interior Panel Mounting Brackets, on our website.
- Grounding Rod: A grounding rod is used to provide a direct connection to the ground. The grounding rod should be made of a conductive material, such as copper or steel, and should be at least 8 feet long.
- Tools: You'll need a few tools to complete the installation, including a drill, screwdriver, wire cutters, and pliers.
Step 2: Choose the Right Location
The location of the lightning rod is crucial for its effectiveness. The lightning rod should be installed at the highest point of the home antenna pole to ensure that it is the first point of contact for a lightning strike. Make sure the lightning rod is at least 10 feet away from any windows, doors, or other openings in your home to prevent the electrical current from entering your home.
Step 3: Install the Mounting Bracket
Once you've chosen the right location for the lightning rod, it's time to install the mounting bracket. Use a drill to make holes in the home antenna pole and attach the mounting bracket using screws. Make sure the mounting bracket is securely attached to the pole and is level.
Step 4: Install the Lightning Rod
Attach the lightning rod to the mounting bracket using the provided hardware. Make sure the lightning rod is securely attached to the bracket and is vertical. The lightning rod should extend at least 18 inches above the highest point of the home antenna pole.
Step 5: Connect the Grounding Wire
Connect one end of the grounding wire to the lightning rod using a clamp or connector. Make sure the connection is secure and tight. Then, run the grounding wire down the home antenna pole and connect it to the grounding rod. The grounding rod should be driven into the ground at least 8 feet deep.
Step 6: Test the System
Once the installation is complete, it's important to test the lightning rod system to ensure that it is working properly. You can use a multimeter to test the resistance of the grounding system. The resistance should be less than 25 ohms. If the resistance is higher than 25 ohms, you may need to add additional grounding rods or improve the connection between the grounding wire and the grounding rod.
Step 7: Maintain the System
Regular maintenance is essential to ensure the effectiveness of the lightning rod system. Inspect the lightning rod and grounding system regularly for any signs of damage or corrosion. Replace any damaged or corroded components as soon as possible. Also, make sure the grounding wire is securely connected to the lightning rod and the grounding rod.
Conclusion
Installing a lightning rod on your home antenna pole is a simple and effective way to protect your property and equipment from lightning strikes. By following the steps outlined in this blog, you can install a lightning rod on your home antenna pole safely and effectively. If you have any questions or need further assistance, please don't hesitate to contact us. We are a leading supplier of Home Antenna Poles and can provide you with the products and support you need to complete your installation. Whether you're a homeowner looking to protect your property or a professional installer, we're here to help. Contact us today to discuss your needs and learn more about our products and services.
References
- National Fire Protection Association. (2017). National Electrical Code (NEC), NFPA 70.
- Underwriters Laboratories. (2019). UL 96A: Standard for Lightning Protection Systems.
- Federal Emergency Management Agency. (2011). Lightning Safety.


