Hey there! As a supplier of Home Antenna Poles, I've had my fair share of experiences with all sorts of antenna - related installations. Today, I'm gonna walk you through the process of installing a platform on a home antenna pole.
First off, why would you want to install a platform on your home antenna pole? Well, there are a bunch of reasons. Maybe you want to mount additional equipment like a small weather station, a security camera, or even a birdhouse if you're into that kind of thing. A platform gives you a stable surface to attach these items to, and it can really enhance the functionality of your antenna pole setup.
Step 1: Gather Your Tools and Materials
Before you even think about climbing up that pole, you need to make sure you have everything you need. Here's a list of what you'll likely require:
- A suitable platform: This could be made of metal, wood, or plastic, depending on your needs and budget. Make sure it's strong enough to hold whatever you're planning to put on it.
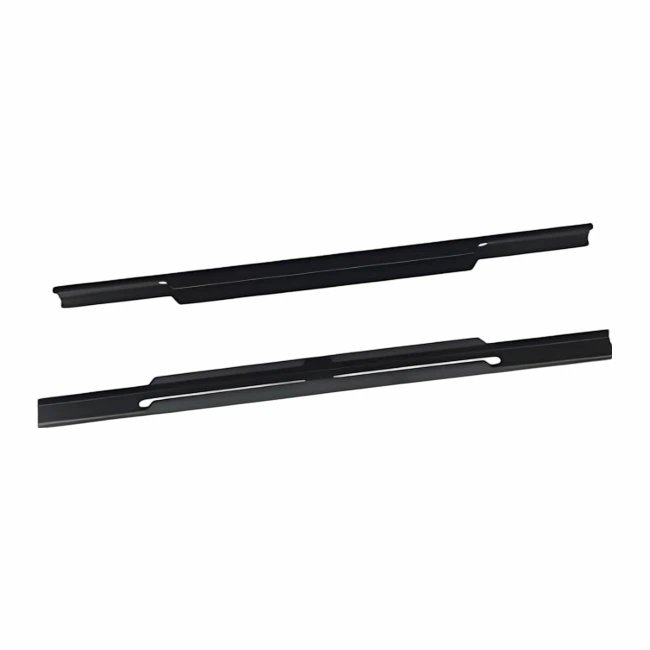
- Mounting brackets: You can find a variety of these, such as Base Mounting Brackets, Data Interface Mounting Brackets, and Interior Panel Mounting Brackets. These brackets are crucial for attaching the platform securely to the pole.
- Screwdrivers, wrenches, and other basic hand tools: You'll need these to tighten bolts and screws.
- Safety equipment: This includes a safety harness, a hard hat, and non - slip shoes. Safety should always be your top priority when working at heights.
- Measuring tape: To ensure that the platform is installed at the right height and level.
Step 2: Choose the Right Location
Picking the right spot on the antenna pole for your platform is super important. You need to consider a few things:
- Height: Think about what you're going to put on the platform. If it's a camera, you'll want it at a height where it can cover the area you want to monitor. If it's a weather station, it should be high enough to get accurate readings but not so high that it's difficult to access for maintenance.
- Stability: Make sure the part of the pole where you're installing the platform is stable and free from any damage or weak spots. You don't want your platform to come crashing down because the pole isn't up to the task.
- Accessibility: You'll need to be able to reach the platform easily for installation, maintenance, and any future upgrades. So, don't install it in a spot that's too hard to get to.
Step 3: Prepare the Pole
Once you've chosen the location, it's time to prep the pole. This might involve cleaning the area where the platform will be attached to remove any dirt, rust, or debris. If the pole has a protective coating, be careful not to damage it during the cleaning process.
If the pole is made of metal, you might need to drill holes for the mounting brackets. Make sure you measure twice and drill once to ensure the holes are in the right place. If it's a wooden pole, you can usually use screws without drilling pre - holes, but it's still a good idea to check the wood's density and hardness first.
Step 4: Install the Mounting Brackets
Now, it's time to put those mounting brackets to use. Start by attaching the brackets to the platform according to the manufacturer's instructions. This usually involves lining up the holes in the platform and the brackets and then using screws or bolts to secure them together.
Once the brackets are attached to the platform, it's time to mount the whole thing on the pole. You may need a friend or two to help you lift the platform into place. Make sure the brackets are properly aligned with the holes or markings on the pole. Then, use your wrenches or screwdrivers to tighten the bolts or screws. Double - check that everything is secure and that the platform is level. You can use a spirit level to make sure it's not tilted.
Step 5: Test the Platform
After you've installed the platform, it's a good idea to give it a little test. Gently shake the platform to see if it wobbles or feels loose. If it does, go back and tighten the bolts or brackets some more. You can also place a small, lightweight object on the platform to see how it holds up.
If everything seems stable, you're almost done. But don't forget to check the platform periodically for any signs of wear and tear, especially after strong winds or other extreme weather conditions.
Step 6: Add Your Equipment
Once you're satisfied with the stability of the platform, it's time to add whatever equipment you've been planning to mount. Whether it's a security camera, a weather station, or something else, follow the manufacturer's instructions for installation. Make sure all the cables and wires are properly routed and secured to prevent them from getting tangled or damaged.

Wrapping It Up
Installing a platform on a home antenna pole isn't rocket science, but it does require some careful planning and attention to detail. By following these steps, you can ensure that your platform is installed safely and securely.
If you're in the market for a home antenna pole or any of the accessories mentioned in this blog, I'm here to help. We've got a wide range of high - quality products that can meet your needs. Whether you're a DIY enthusiast or a professional installer, we've got what you're looking for. So, if you have any questions or want to discuss your specific requirements, don't hesitate to reach out. Let's get your antenna pole setup looking great and functioning at its best!
References
- General knowledge from years of experience in the home antenna pole supply industry.
- Manufacturer's instructions for various mounting brackets and platforms.


