


Hey there! As a supplier of mounting brackets, I've seen my fair share of dirty and grimy brackets over the years. Cleaning mounting brackets isn't just about making them look good; it's also crucial for their functionality and longevity. In this blog, I'll share some tips on how to clean mounting brackets effectively.
Why Cleaning Mounting Brackets Matters
Before we jump into the cleaning process, let's talk about why it's so important to keep your mounting brackets clean. First off, dirt, dust, and grime can accumulate on the brackets over time. This buildup can cause corrosion, especially if the brackets are made of metal. Corrosion weakens the bracket's structure, which can lead to failures and pose safety risks.
Secondly, a clean bracket ensures a better fit and proper installation. If there's debris on the bracket, it might not sit flush against the surface it's supposed to be mounted on. This can result in a wobbly or unstable installation, which is definitely not what you want.
Types of Mounting Brackets and Their Cleaning Needs
There are various types of mounting brackets out there, and each might have different cleaning requirements. For example, we offer Interior Panel Mounting Brackets that are often used in home appliances. These brackets usually don't get exposed to extreme conditions, but they can still collect dust and grease from the appliance's operation.
On the other hand, Suspension Mounting Brackets are used in more heavy - duty applications. They might be exposed to dirt, mud, and other harsh elements. These brackets need a more thorough cleaning to prevent rust and ensure they can handle the stress they're designed for.
We also have Home Decoration Cover Plate, which are more about aesthetics. Keeping them clean will enhance the overall look of your home decor.
Tools and Materials You'll Need
To clean mounting brackets, you'll need a few basic tools and materials. Here's a list:
- A soft brush: This can be a toothbrush or a small paintbrush. It's great for getting into the nooks and crannies of the bracket to remove dirt.
- A microfiber cloth: Microfiber is gentle on the bracket's surface and can absorb a lot of moisture and dirt.
- Mild detergent: You don't want to use anything too harsh that could damage the bracket's finish. A mild dish soap usually works well.
- Water: You'll need it to rinse off the detergent.
- Vinegar (optional): If you're dealing with stubborn stains or rust, vinegar can be a natural and effective cleaner.
- Rust remover (if necessary): For metal brackets that have significant rust, a commercial rust remover might be needed.
Step - by - Step Cleaning Process
Step 1: Remove the Bracket
If possible, remove the mounting bracket from its installation. This will make it easier to clean all sides and get into hard - to - reach areas. Just make sure you follow the proper safety procedures and keep track of any screws or fasteners.
Step 2: Pre - clean with a Soft Brush
Use the soft brush to gently remove any loose dirt, dust, or debris from the bracket. Pay special attention to the holes, corners, and edges. You can tap the brush on a hard surface to get rid of the collected dirt.
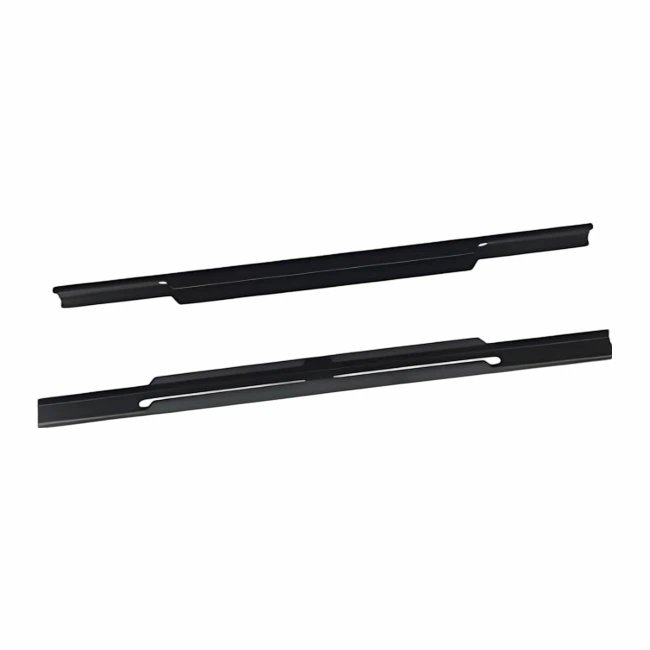

Step 3: Prepare the Cleaning Solution
Fill a bucket or a sink with warm water and add a small amount of mild detergent. Mix it well to create a soapy solution. If you're dealing with rust, you can add some vinegar to the solution.
Step 4: Soak the Bracket
Place the bracket in the cleaning solution and let it soak for about 15 - 20 minutes. This will help loosen up the dirt and grease. If the bracket is heavily soiled, you might need to let it soak for a longer time.
Step 5: Scrub the Bracket
After soaking, take the bracket out of the solution and use the soft brush to scrub it gently. Focus on areas with stubborn stains or dirt buildup. You can also use the microfiber cloth to wipe down the surface. If there's rust, you can use a rust remover according to the manufacturer's instructions.
Step 6: Rinse the Bracket
Rinse the bracket thoroughly with clean water to remove all the detergent and dirt. Make sure there's no soap residue left on the bracket.
Step 7: Dry the Bracket
Use the microfiber cloth to dry the bracket as much as possible. Then, let it air - dry completely before reinstalling it. This will prevent water spots and rust from forming.
Special Cleaning Tips for Different Materials
- Metal brackets: As mentioned before, metal brackets are prone to rust. After cleaning, you can apply a thin layer of oil or a rust - preventive coating to protect the surface.
- Plastic brackets: Plastic brackets are generally easier to clean. Avoid using abrasive materials that could scratch the plastic. You can use a milder detergent and a soft cloth to clean them.
- Wooden brackets: Wooden brackets need to be cleaned gently to avoid damaging the wood. Use a damp cloth and a mild wood cleaner. Make sure to dry them thoroughly to prevent warping.
Maintenance Tips to Keep Brackets Clean
- Regular inspections: Check your mounting brackets periodically for dirt, rust, or damage. Catching problems early can save you from more serious issues later.
- Keep the area clean: If the bracket is installed in a dirty environment, try to keep the surrounding area clean. This will reduce the amount of dirt that gets on the bracket.
- Protect the brackets: If possible, use covers or shields to protect the brackets from the elements. This is especially important for outdoor or heavy - duty applications.
Contact Us for Your Mounting Bracket Needs
If you're in the market for high - quality mounting brackets, look no further! We're a trusted supplier with a wide range of brackets to suit your needs. Whether it's Interior Panel Mounting Brackets, Suspension Mounting Brackets, or Home Decoration Cover Plate, we've got you covered.
Feel free to reach out to us to discuss your requirements and get a quote. Our team of experts is always ready to assist you with any questions you may have.
References
- Professional Cleaning Guides for Industrial Components
- Home Maintenance and Repair Handbook


